CNC Workholding Methods: From Tape to Vacuum
If a workpiece moves during cutting, it can break a tool, spoil the part or be thrown from the machine. Plan how the stock and each finished piece will stay secured throughout the toolpath.
Table of Contents
- The Workholding Hierarchy: Bad Ideas (Costing You Tools)
- Double-Sided Tape: Surprisingly Effective
- Step Clamps with T-Track: The Universal Standard
- Toe Clamps: Lower Profile, Faster Release
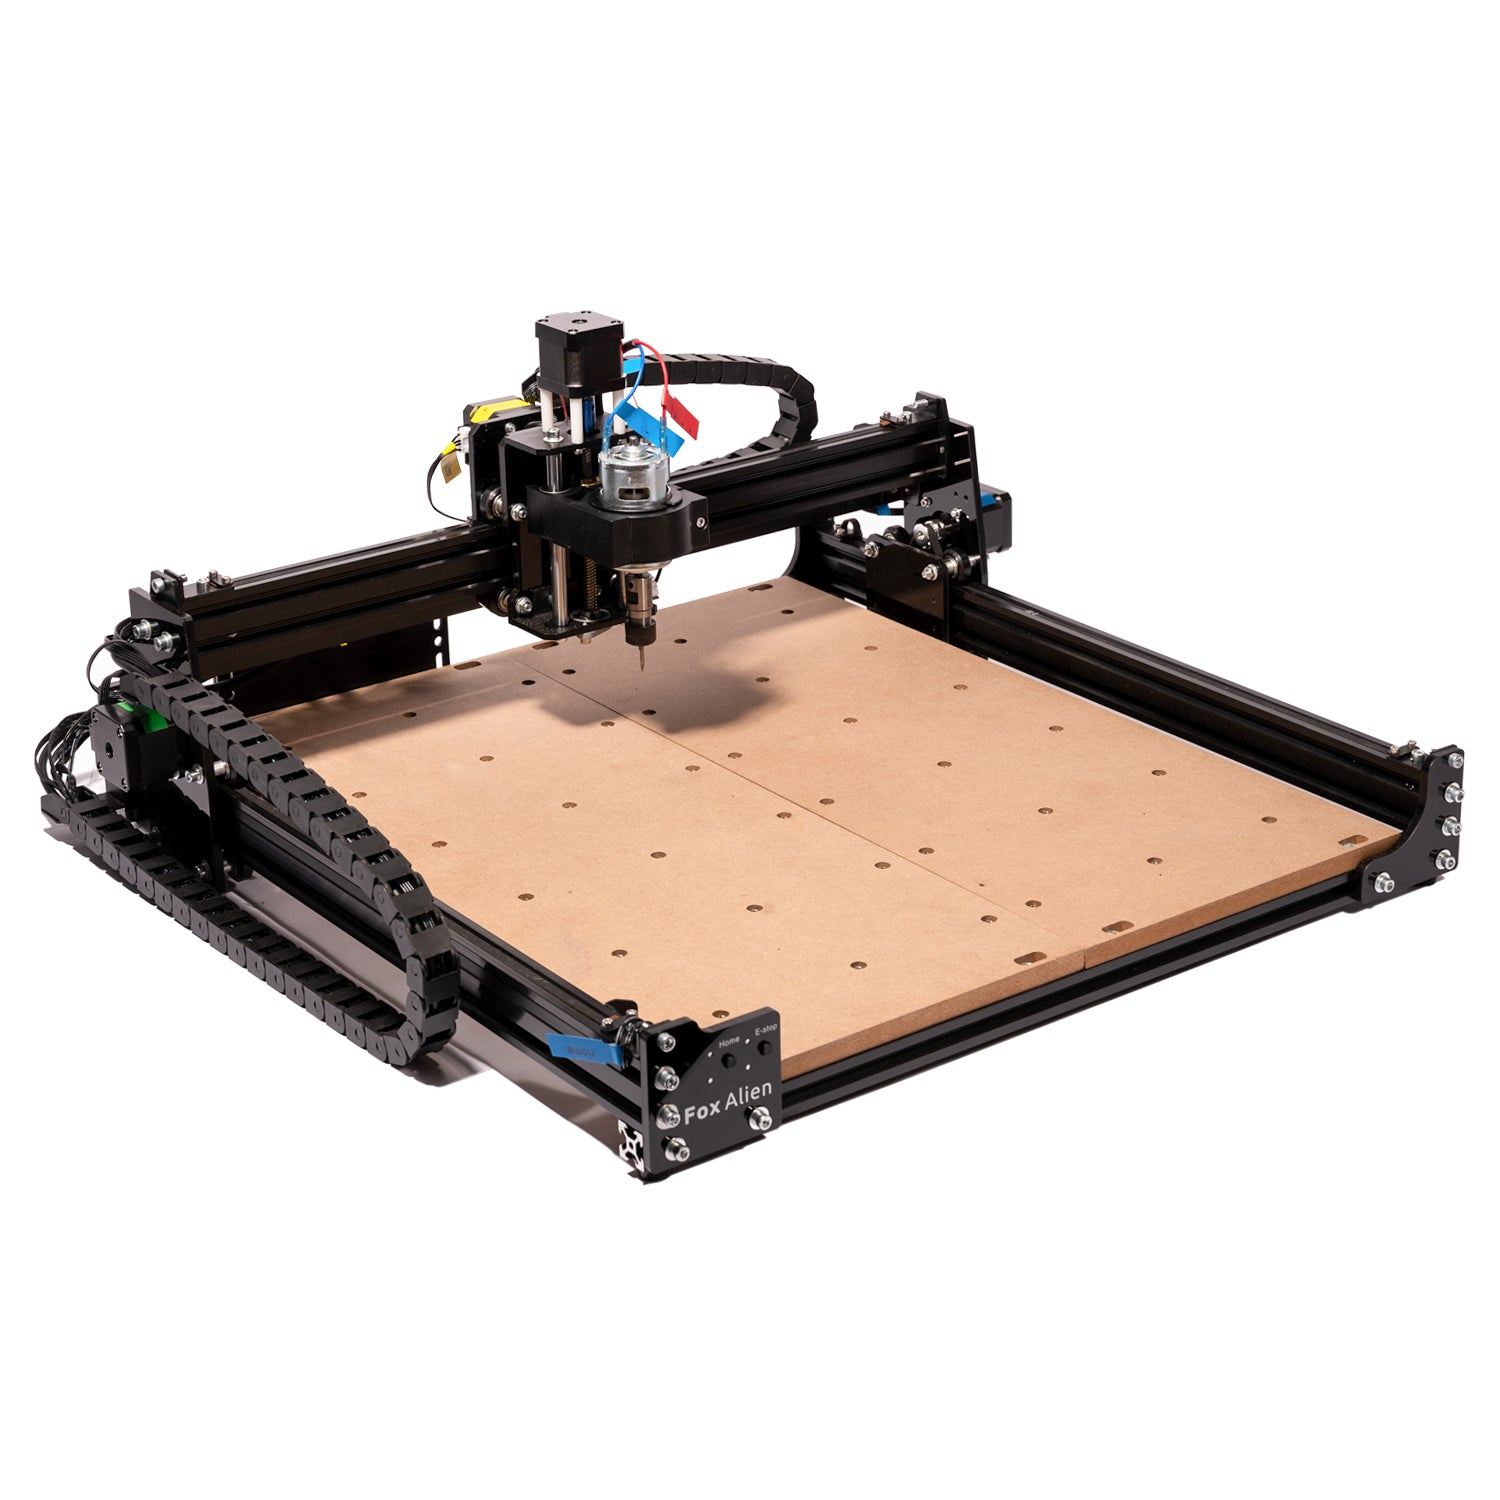
- Threaded Wasteboard Inserts: Build It Once, Clamp It Forever
- Tape + CA Glue Method: Hybridized and Brutal
- Vises: For Metal and Precision Work
- Vacuum Table: The Gold Standard
- The Principle: Workholding Failure Costs More Than Prevention
- Quick Selection Matrix
- Real-World Advice from the Community
- Verdict: Tape for Quick Work, Clamps for Everything Else
- Parts for this guide
- Related Guides
The Workholding Hierarchy: Bad Ideas (Costing You Tools)
If a workpiece moves during cutting, it can break a tool, spoil the part or be thrown from the machine. Plan how the stock and each finished piece will stay secured throughout the toolpath.
Here's the honest progression:
- Gravity alone (worst idea)
- C-clamps: usable when securely positioned with support and full toolpath clearance
- Double-sided tape (works, but has limitations)
- T-track clamps (professional standard for routers)
- Threaded wasteboard inserts (best for repeat setups)
- Vacuum table (the gold standard, difficult DIY)
Choose a method for the part's size, material, cutting forces and tool access. Each option has limits; verify the complete setup before starting the spindle.
Double-Sided Tape: Surprisingly Effective
Use thin, firm double-sided tape intended for machining or woodworking. Check the exact product's adhesion, thickness and release behavior; a brand name or carpet-tape label alone does not specify suitable workholding.
Press clean, flat stock onto tape applied evenly to the spoilboard. Check that it resists the expected forces and that removal will not damage the part.
Why it works so well:
- Contact area = strength. A 100×200mm workpiece with full tape coverage grips hard.
- Keep the adhesive layer thin and firm; compressible backing can let the work deflect
- Cost: ~$0.50 per job
- Test removal on scrap first, especially with thin veneers or fragile surfaces
Gotchas:
- Dust, moisture and surface contamination reduce adhesion. Vacuum away loose dust, then clean and dry both surfaces using a method compatible with the material and tape.
- Thin stock can flex or peel even when its footprint has plenty of adhesive area. Support it fully and ensure each cut-out remains attached; thickness by itself does not reduce contact area.
- Removal is messy. Use a plastic scraper (not a metal one, which damages the wasteboard) to lift the edge, then gradually peel. Residual adhesive comes off with goo-gone or isopropyl alcohol.
- Oily woods may need a different holding method; test the tape on a prepared offcut before relying on it
A roll can cover multiple jobs; consumption depends on roll dimensions, part size and tape coverage.
Step Clamps with T-Track: The Universal Standard
The setup: Your wasteboard has T-track channels routed or bolted to it. Step clamps hook over the T-track and press down on the work.
Why it's the hobby standard:
- Clamps can move along the available tracks; plan the layout for the parts you expect to hold
- Check clamp, stud and collet clearance over the entire toolpath
- Tighten within the hardware's limits and check that the stock is supported without distortion
- Reusable while the clamps, threads and tracks remain undamaged
- Reposition clamps only with motion stopped and the work still securely located, then recheck the remaining toolpath
Gotcha: A clamp can be in the path of your tool if your design isn't careful. Plan toolpaths to avoid clamps, or use low-profile clamps that sit closer to the surface.
Route grooves to the actual T-track profile. For example, Rockler Universal T-Track is 3/4 in wide and 3/8 in deep; its bolt size is not its outside width. Keep the track below the intended cutting surface.
Surface-mounted track is another option, but it stands above the base; add appropriate spoilboard strips or account for its height and clearance
T-track offers adjustable fastening positions when the rails are securely mounted.
Cost: T-track kit (aluminum rails + T-nuts + clamps): $80–150 for a 600×600mm wasteboard. One-time investment.
Toe Clamps: Lower Profile, Faster Release
Toe clamps grip the side or edge of the work and can apply a downward component through a cam or angled clamping element. They need a suitable opposing stop and a rigid base.
Their low profile can improve top-surface access; release travel depends on the clamp design.
Disadvantage: They're fiddly to mount and adjust. Less common in the hobby community.
Cost: $30–60 per clamp.
When to use: High-volume repeat setups where you're clamping/unclamping the same size part dozens of times.
Threaded Wasteboard Inserts: Build It Once, Clamp It Forever
Lay out a grid of inserts to suit your fixtures and leave enough material around every pilot hole. Use coarse-thread wood inserts intended for MDF, installed by the specified method, and keep metal clear of the cutter.
Why this is powerful:
- Bolt heads and washers still need clearance from the cutter, collet and toolpath
- A grid offers repeatable positions at its hole spacing
- You can bolt aluminum stock directly—no tape, no clamps
- Setup is a one-time project; repetition jobs are trivial
How to set it up:
- Choose hole spacing around the fixture pattern, insert outside diameter and required MDF between holes
- Make a drill template from hardboard
- Drill the pilot holes to the diameter and depth specified by the insert manufacturer
- Screw in hex-drive or slotted wood inserts as specified; press only inserts designed for pressing
- Use bolts and washers matching the inserts, and check engagement without bottoming the bolts
Machined MDF holes can absorb moisture and lose holding strength. Keep the board dry and follow the insert manufacturer's installation instructions.
Cost: Threaded insert kit (100 pieces): $10–20. Drill template: $0 (DIY hardboard).
Tape + CA Glue Method: Hybridized and Brutal
Apply painter's tape separately to the spoilboard and the back of the stock, then bond the exposed tape faces together with CA glue. Keep glue off the stock and board, press the assembly flat and allow the adhesive to cure before cutting.
The joint depends on both tape adhesion and the CA bond between the tape faces. Coverage, cure and surface preparation all affect holding.
After cutting, separate the assembly at a tape interface and peel away the tape carefully. Test removal on fragile surfaces rather than assuming the glue joint will pop off cleanly.
Gotcha: CA glue is irritating and dries fast. Don't get it on your fingers, and have acetone nearby for cleanup.
Cost: Negligible (small drop of CA).
Vises: For Metal and Precision Work
When to use: Milling aluminum, cutting steel, any work where you need repeat precision in one orientation.
Indicate the fixed jaw parallel to the machine axis chosen for the setup, commonly X or Y. Check seating and support separately; rotation in the XY plane is different from tilt that changes Z height.
Allow time to clean, mount, indicate and recheck the vise
A vise and a suitable locating stop can make repeated setups convenient. Measure repeatability with the actual jaws, stock and tightening procedure.
Vise selection: A 3–4" machine vise ($40–100) is plenty. Avoid hardware store "hobby" vises—the jaws aren't parallel enough.
Check vise mass, footprint, jaw opening and remaining Z clearance against your machine and work
Community use: Aluminum cutters and metal routers use vises. Wood routers rarely do (tape and T-track are faster).
Cost: $50–150 for a decent vise.
Vacuum Table: The Gold Standard
A vacuum fixture uses a pressure difference to press stock onto a sealed or porous support. The vacuum source must provide enough pressure difference and flow for the part area and leakage; a shop vacuum is suitable only for systems designed around it.
Why it's the ultimate:
- Useful for some thin sheet parts when the effective sealed area provides enough holding force
- No clamps in the way; entire surface is clamping area
- Fast (just hit the vacuum switch)
- Repeatable
Why it's hard for DIYers:
- Requires a suitable vacuum source, plumbing, sealing and a way to monitor holding vacuum
- DIY versions are finicky (leakage is constant battle)
- Spoilboards and gaskets need inspection for cut damage, leaks and blocked flow paths
- Thin stock can "flutter" if suction isn't strong enough
Plan a vacuum fixture around its sealing area and leakage:
- Choose a stable base material and seal it as required by the fixture design
- Lay out channels, ports and gasket zones from a complete vacuum-fixture plan
- Connect the fixture to a vacuum source rated for the required pressure, flow and continuous operating conditions
- Route the air from holes through the manifold to the vac
Leakage reduces holding force. Check vacuum with the actual work in place and after any cut-through, and repair leaks or damaged support before machining.
Commercial vacuum tables still need suitable part geometry, sealing, pump capacity and maintenance. Check effective holding area and cut-through leakage before committing to a job.
A non-slip mat can increase friction under a properly restrained part, but it is not sufficient CNC workholding by itself. Add positive hold-down suited to the cutting forces.
Cost: $100–200 for DIY (worth it if you cut thin sheet stock regularly); $500+ for commercial.
The Principle: Workholding Failure Costs More Than Prevention
A broken $30 end mill costs $30. The time to clean up, diagnose the breakage, and restart costs an hour ($20 of your time, conservatively). A shifted part that ruins a 30-minute job costs 30 minutes. Multiply that across a year of projects, and workholding investments pay for themselves in weeks.
Never underinvest in workholding. It's the easiest place to save money on a CNC machine, and it's the worst place to cheap out.
Quick Selection Matrix
| Work Type | Best Method | Cost | Setup Time |
|---|---|---|---|
| Thin plywood sheet | Vacuum fixture, suitable tape, or positive clamps with full support | $20–200 | Depends on fixture and seal checks |
| Solid wood panels (1"+ thick) | Double-sided tape + optional clamps | $1–50 | Depends on surface preparation and tape placement |
| Hardwood or soft metals | T-track clamps | $100–150 | Depends on clamp layout and clearance checks |
| Aluminum (production) | Threaded inserts or vise | $20–100 | Initial alignment; shorter repeat setups with fixed stops |
| Small precision parts | Machine vise | $50–100 | Initial vise alignment; repeat setups depend on the part |
| Repeat batches (same size) | Threaded inserts or fixture jig | $30–100 | Initial fixture build and alignment; verify each reload |
Real-World Advice from the Community
Verdict: Tape for Quick Work, Clamps for Everything Else
For a new builder, use suitable tape for jobs within its limits and mechanical clamps where needed. Check retention on scrap and plan for each cut-out; tool breakage is not a required step in learning workholding.
For repeat work, an insert grid can locate fixtures and clamps. Inspect the MDF anchorage and hardware regularly and account for the setup time in your own layout.
For metal, choose a vise, fixture plate, clamps or another validated setup that supports the part and resists the cut.
For thin sheet, use a suitable vacuum fixture, tested adhesive workholding or positive clamps with full support. A non-slip mat alone is insufficient.
The hierarchy exists because different work demands different approaches. Understand which method suits your job, and workholding becomes boring (the goal—you want your failures elsewhere).
Parts for this guide
If you are buying after reading this, these are the specs to look for.
| Part | What to buy | Where to look |
|---|---|---|
| Thin double-sided workholding tape The reader needs low-profile holding for flat parts while controlling thickness and release. | Firm, non-foam double-sided tape intended for CNC or woodworking; require a stated thickness and adhesive compatibility with the work and spoilboard. | |
| Painter's tape and medium CA The reader needs a removable adhesive sandwich for small flat jobs with full tool access. | Flat paper painter's tape plus medium-viscosity cyanoacrylate suitable for bonding the two tape faces; allow the adhesive's specified cure time. | |
| Matched T-track clamp kit The reader needs adjustable mechanical hold-down points around different stock sizes. | Track and hold-down clamps supplied with matching bolts or T-nuts; a 3/4 in wide by 3/8 in deep track needs that groove profile, not a groove sized to the bolt. | |
| M6 wood inserts and bolts The reader needs reusable anchors for repeat fixtures without cutting exposed metal. | Coarse external-thread inserts made for MDF with M6 x 1.0 internal threads, matching bolts and washers; choose insert and bolt lengths for the remaining board thickness. | |
| Low-profile edge clamps The reader needs to keep the top of the work accessible while resisting side and lifting forces. | Matched edge or toe clamps with an opposing stop, a published screw size and torque limit, and mounting compatible with the fixture plate or track. |
"Search" buttons open a search for that exact spec, so compare listings against it before buying. Some links earn us a commission at no extra cost to you (disclosure).