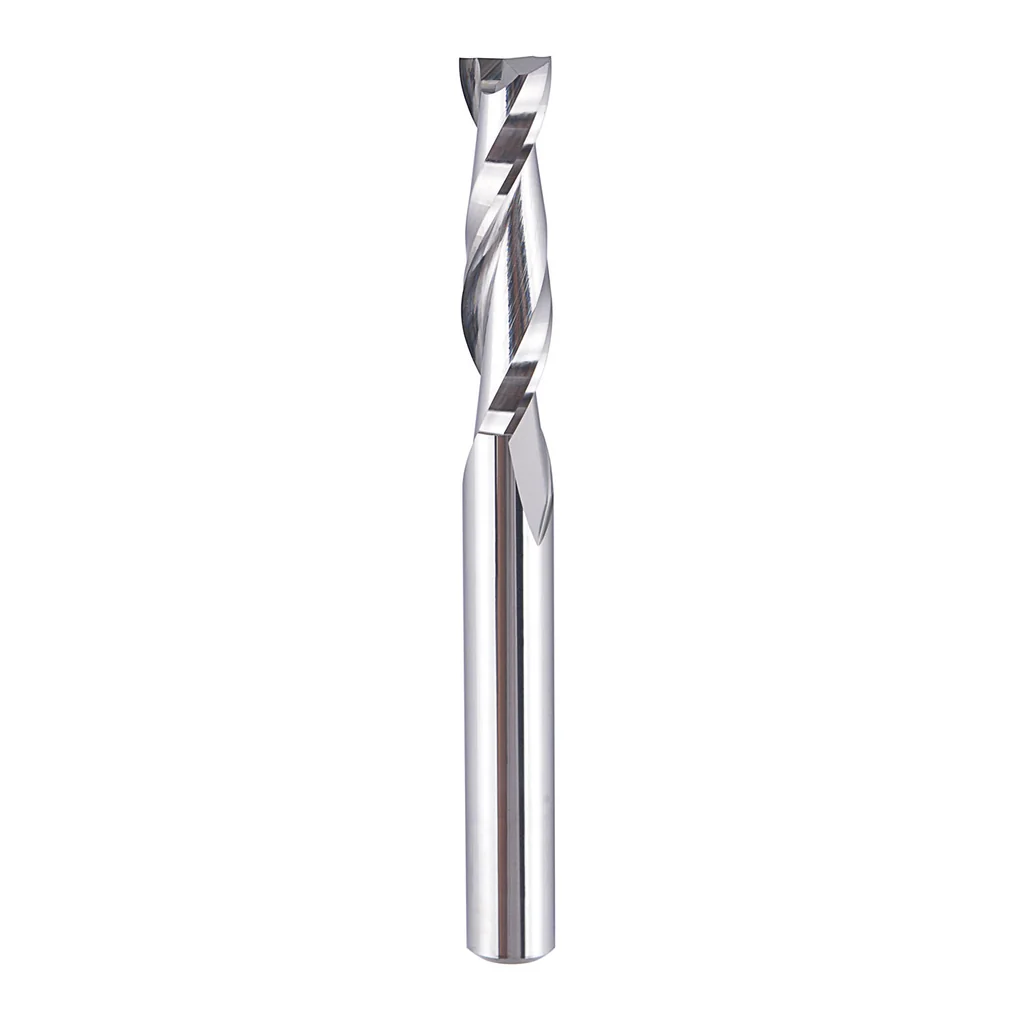
Upcut vs Downcut vs Compression End Mills: When to Use Each and Why
Every beginner eventually asks: "Which helix direction should I use?"
Table of Contents
- The Confusing Choice That Shouldn't Be Confusing
- Upcut Spiral: Pulls Chips Up
- Downcut Spiral: Pushes Chips Down
- Compression Spiral: Two Zones, One Bit
- When to Use Each: The Decision Tree
- Material-Specific Recommendations
- The Compression Bit Caveat
- Number of Flutes (2-Flute vs 3-Flute)
- Surface Finish Reality
- What We'd Buy
- Parts for this guide
- Related Articles
The Confusing Choice That Shouldn't Be Confusing
Every beginner eventually asks: "Which helix direction should I use?"
It's actually simple once you understand what each does. Let's break it down without the jargon.
Upcut Spiral: Pulls Chips Up
An upcut bit has a spiral that rotates like a spiral staircase going up. As it cuts, it literally pulls chips up and out of the cut.
Pros:
- Excellent chip evacuation
- Works great in pockets and cavities
- Preferred for deep cuts where chip space matters
- Better for aluminum (less recutting)
- Standard bit, cheapest option
Cons:
- Can tear fibers at the top edge
- Lifts fibers up, leaving a fuzzy or rough top edge
- Not ideal for veneered or painted surfaces
Downcut Spiral: Pushes Chips Down
A downcut bit has a spiral that goes the opposite direction. Chips get pushed down into the cut.
Pros:
- Pushes top fibers down to help produce a clean top edge
- Excellent for veneered plywood, laminate, painted surfaces
- Sharp edge on top where it matters visually
Cons:
- Chips pack into the cut (harder to evacuate)
- Avoid deep enclosed pockets unless the cutter and chip evacuation suit the cut
- Requires better chip management (air blast helps)
- More expensive than upcut
Compression Spiral: Two Zones, One Bit
A compression bit is clever: upcut at the bottom (tip), downcut at the top. It's designed specifically for through-cuts where you want clean surfaces on both top and bottom.
How it works:
- The upcut tip lifts chips and supports a clean bottom edge
- The upper downcut section pushes top fibers downward to protect the top edge
- The flute directions meet at a transition along the cutting length
Pros:
- Clean top AND clean bottom surface on through-cuts
- Reduces tearout dramatically on full-depth cuts
- A through-cutting bit for sheet goods, not a spoilboard-surfacing cutter
Cons:
- Must be used at sufficient depth to engage both zones
- Won't work properly as a shallow pocket bit
- More expensive than upcut or downcut alone
- Feeds depend on cutter geometry, material and engagement
When to Use Each: The Decision Tree
Upcut
- Pockets and cavities
- Through-cuts where the top edge can tolerate some tearout
- Aluminum with an appropriate aluminum-cutting tool; upcut is a useful starting choice
- Deep cuts in solid material
- Any application where chip evacuation is critical
Example: Cutting a pocket in MDF for a drawer, cutting 3D profile in hardwood, cutting aluminum plate
Downcut
- When the top surface finish is critical
- Veneered plywood or laminate where you can't have tearout
- Shallow cuts on finished surfaces
- Painted or stained surfaces where top appearance matters
Example: Cutting edge banding on plywood, shallow surface carving on stained wood, cutting a hole in laminate countertop
Compression
- Through-cuts in plywood (both sides need to be clean)
- Cutting sheet goods for final use without cleanup
- Production runs where surface quality matters on both sides
- Full-depth carving where edges are visible
Example: Cutting parts for a box from plywood, through-cuts in MDF panels for assembly, sheet goods that will be visible from both sides
Material-Specific Recommendations
| Material | Best Choice | Why | Alternative |
|---|---|---|---|
| MDF | Upcut | Dust management, less fuzz | Compression if through-cutting |
| Solid hardwood | Upcut | Standard for pockets, carving | Downcut for finish passes on surfaces |
| Plywood (through cuts) | Compression | Clean top and bottom | Score the top with downcut first, then cut through with upcut |
| Veneered plywood | Compression or Downcut | Prevent veneer tearout | Score with a downcut before deeper passes |
| Laminate | Downcut | Top surface is visible, must be clean | Not recommended: difficult to manage |
| Aluminum | Usually upcut; use an aluminum-specific cutter | Recutting is the enemy | Choose flute count and helix together for chip evacuation |
| Acrylic | Plastic-cutting O-flute, commonly upcut | Chip clearance, helix and edge geometry all matter | Single-flute O-flute standard |
| Soft plastics (HDPE) | Upcut preferred | Good chip space, less melting | Downcut works but packs chips faster |
The Compression Bit Caveat
For clean top and bottom edges, the flute transition must lie inside the stock. The first pass at the top edge must reach past the upcut tip, or that tip can tear the top surface.
Check the stated upcut length: a shallow first pass that stays within it behaves like an upcut.
Use compression bits for:
- Full-depth or near-full-depth through-cuts
- Pockets only when the top edge reaches the downcut section and chips can escape
Don't use them for:
- Shallow surface carving
- Fine work only if the cutter diameter and upcut length fit the geometry
- Any top-edge pass shallower than the actual upcut length
Number of Flutes (2-Flute vs 3-Flute)
Flute count is separate from spiral direction:
- 1-flute: Massive chip space, plastics, softer materials
- 2-flute: Workhorse for wood, aluminum, all-purpose
- 3-flute: More cutting edges; at equal RPM and chip load, the feed must increase
You can get 2-flute upcuts, 2-flute downcuts, 3-flute compression bits, etc. Choose both:
- Spiral direction (up/down/compression)
- Number of flutes (1/2/3)
For most hobbyists:
- Standard work: 2-flute upcut
- Fine finishing in hardwood: 2-flute or 3-flute downcut as final pass
- Sheet goods: Compression bit
Surface Finish Reality
Upcut bits leave toolmarks on the top surface. This is fine if you're painting, staining, or sanding anyway. It's not fine if you need a gloss-finish-ready top surface.
If top surface finish matters and you don't have compression bits:
- Score the top edge first with a suitable downcut
- Then remove the remaining material with upcut, or use a properly engaged compression tool
- Leave sufficient finishing allowance where needed; later passes cannot replace torn-away material
Slightly longer machining time, dramatically better results.
What We'd Buy
For a beginner's bit collection:
- 2-flute upcut 1/4" ($12–20): Your main workhorse
- 2-flute downcut 1/4" ($15–25): For finishing passes and surface work
- 1/4" compression bit ($18–30): For plywood through-cuts
- 1/8" upcut ($12–18): Detail work
- 60° V-bit ($12–20): For text and engraving
This covers a useful starting range of pockets, profiles and lettering.
Parts for this guide
If you are buying after reading this, these are the specs to look for.
| Part | What to buy | Where to look |
|---|---|---|
| Upcut spiral The reader needs chip evacuation for pockets and general wood profiling. | Solid carbide, 2 flutes, 1/4-inch cutting diameter and shank, 1-inch cutting length; use with a matching collet. | |
| Downcut spiral The reader needs to protect a visible top veneer or score its edge before deeper cutting. | Solid carbide, 2 flutes, 1/4-inch cutting diameter and shank, 1-inch cutting length. | |
| Compression spiral matched to sheet thickness The reader needs clean top and bottom edges when cutting plywood parts through the sheet. | Solid carbide, 1/4-inch shank and cutting diameter; require a stated upcut length shorter than the first top-edge pass and total cutting length sufficient to pass through the sheet. |
"Search" buttons open a search for that exact spec, so compare listings against it before buying. Some links earn us a commission at no extra cost to you (disclosure).