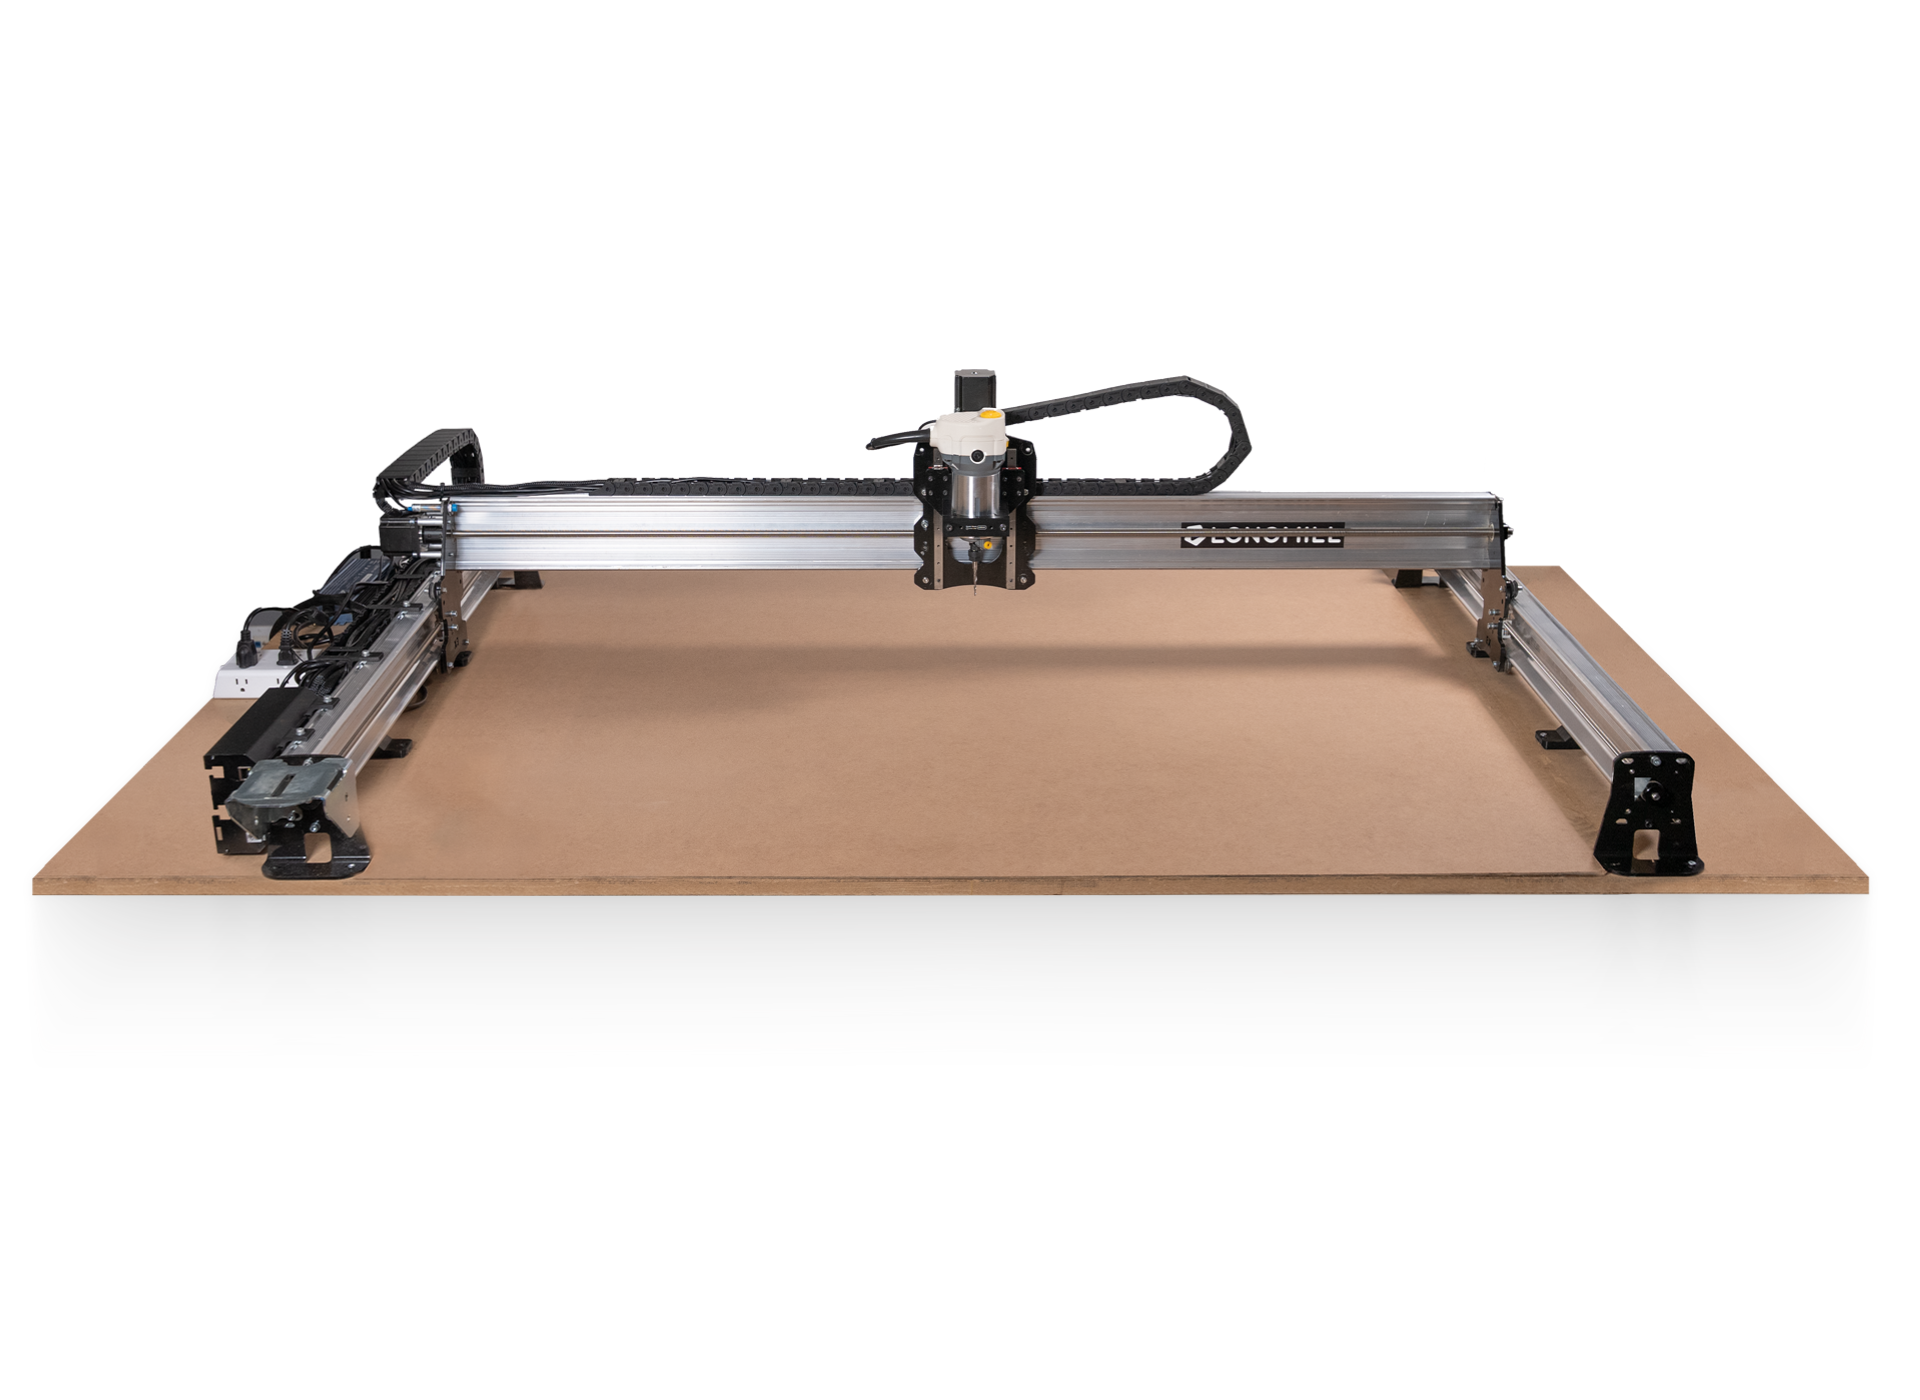
CNC Cable Management: Drag Chains and Why It Matters More Than You Think
Cable management is boring. You're excited to cut something, the machine is almost done, and managing cables feels optional. Then your drag chain gets pinched, a stepper wire ruptures, and you're troubleshooting intermittent axis faults at midnight.
Table of Contents
- The Last Step You'll Skip (Until Your Cable Gets Shredded)
- What Drag Chains Actually Do
- Sizing: The Part You'll Get Wrong
- Length: Don't Stint Here
- Self-Opening vs Solid Links
- Cable Types Matter
- What Cables Go in the Drag Chain
- Cable Protection Before the Drag Chain
- Mounting: Fixed vs Moving End
- Common Mistakes and How to Fix Them
- What We'd Buy
- Parts for this guide
- Related Reading
The Last Step You'll Skip (Until Your Cable Gets Shredded)
Cable management is boring. You're excited to cut something, the machine is almost done, and managing cables feels optional. Then your drag chain gets pinched, a stepper wire ruptures, and you're troubleshooting intermittent axis faults at midnight.
Proper cable management isn't aesthetic—it's functional. Cables flex thousands of times during machine operation. Unsupported, they crack. Over-compressed, they short. Undersized drag chains let cables snag. Get it right, and your machine just works for years. Get it wrong, and you'll be replacing cables constantly.
What Drag Chains Actually Do
A drag chain (also called energy chain or cable carrier) is a flexible plastic channel that flexes in one plane while protecting the cables inside. It's not a cable sleeve—it's a structural support that:
- Holds cables in organized bundles
- Prevents cables from catching on machine edges
- Allows smooth flexing without kinking
- Provides mechanical guidance; use an appropriately enclosed carrier or additional guarding where chips or coolant can reach the cables.
- Makes the machine look intentional instead of chaotic
Poorly routed moving cables can snag, kink or abrade until conductors or insulation fail. A correctly installed carrier helps control that motion, but it must contain cables rated for repeated flexing.
Sizing: The Part You'll Get Wrong
Inner dimensions matter. If your drag chain is too small, cables compress, insulation damages, and you still have signal integrity issues.
Measurement approach:
- List each moving cable and hose, including its outside diameter and specified dynamic bend radius.
- Lay them out with the required clearances and separators, then determine the carrier's inner width and height.
- Use the carrier maker's fill rules; igus typically allows at least 10% clearance around round electrical cables. Select a chain bend radius no smaller than any installed cable or hose requires.
- Test the filled carrier throughout the full travel, checking clearance, free cable movement and the bend radius.
Common sizes in hobby CNC:
| Inner Dimension | Best For | Notes |
|---|---|---|
| 10×10mm | Very light: limit switches only | Useful only when all cable diameters, clearance and bend-radius requirements fit |
| 10×15mm | Limit switches + probe | Suitable for any cable type only if its diameter, clearance and bend radius fit |
| 15×20mm | Small cable set, if the calculated fill fits | Check individual diameters, separators and moving bend radius |
| 18×25mm | Possible spindle-output cable route, if correctly sized | Check the motor cable's outside diameter and dynamic bend radius |
| 25×40mm | Larger cable or hose sets | May be useful on a hobby router with spindle cable and coolant hoses |
Default recommendation: measure the cables and hoses first. Choose inner dimensions, separators, bend radius and load capacity from that layout.
Length: Don't Stint Here
For a conventional horizontal folded carrier with its fixed end at mid-travel, length is half the travel plus the manufacturer's bend allowance K. Add the fixed-end offset when it is away from the midpoint, and follow the chosen carrier's layout drawing.
For 800mm travel with a centred fixed end, start from 400mm plus the chosen carrier's K allowance. Its bend radius, mounting offsets and link pitch determine the final length.
Undersizing here is a common mistake. An extra 100mm of chain costs $2. Replacing a cracked motor cable in the middle of a job costs your time.
Self-Opening vs Solid Links
Self-opening links: The top hinges open, you lay cables inside, and it closes. Much easier to work with.
Solid links: You thread cables through from the end. Faster in theory, but if you misconfigure and need to change cables, you're pulling everything out and re-threading.
For hobby builds? Always buy self-opening. Cost difference is minimal, and you'll appreciate the flexibility when troubleshooting.
Cable Types Matter
Not all cables are equal for drag chain use:
Good: cable explicitly rated for continuous flexing in a carrier, with documented voltage, current, temperature, dynamic bend radius and service conditions. Flexible stranded cable alone does not establish a cycle-life rating.
Bad: installation wire or cable without a suitable repeated-flex rating. Insulation, shielding and conductor construction all need to suit the motion and environment.
Check your cables before running them through the chain. Cheap NEMA stepper cables from AliExpress sometimes have questionable insulation. Upgrade to quality cables—they're $10-20 per set.
What Cables Go in the Drag Chain
Include cables only where their connected devices move relative to the fixed wiring:
- Leads for motors whose cable route moves with the axis
- Limit switch signal cables
- Signals to moving devices; a 0 to 10V controller-to-VFD line normally stays in fixed control wiring when both devices are stationary.
- Tool sensor probes
Should separate (runs in different chains if possible):
- VFD-to-spindle motor output cable; mains input normally remains at the stationary VFD
- High-current power return paths
- Noisy motor or drive cables and sensitive probe, limit or analog signals
Drive cables can couple interference into signal wiring. Use the drive manufacturer's cable, shielding, grounding and separation instructions, and keep sensitive signals away from motor outputs.
If the mechanical layout limits separation, use a routing and shielding arrangement that meets the drive instructions. A plastic divider prevents tangling but does not provide an electromagnetic shield.
Cable Protection Before the Drag Chain
Protect exposed cables where they could rub on a bracket, using suitable sleeving or an edge guard. Place proper strain-relief clamps at the carrier ends and respect the cable maker's required straight section before bending.
This sleeving:
- Protects insulation from abrasion as cables flex into the chain
- Does not replace an anchored strain-relief clamp
- Looks professional
Cost: ~$1-3 per set. Highly recommended.
Mounting: Fixed vs Moving End
One end of the drag chain attaches to the machine frame (fixed). One end attaches to the moving carriage (moving).
Fixed end: fasten the mounting bracket in the designed position. Support or guide the carrier as specified; do not pull it taut to remove sag.
Moving end: Attach to the carriage or tool mount. The chain should follow the motion smoothly without being pulled.
Use the specified carrier length and layout so it reaches both travel limits without tension, collision or an uncontrolled loop. Secure the cables at the ends while leaving them free to move through the bend.
Test the full travel slowly. Stop if cables pull tight, the carrier twists, or anything binds; check length, alignment, support and bend radius before increasing speed.
Common Mistakes and How to Fix Them
"I got a 10×10 drag chain to save money"
- Cables are compressed, insulation gets damaged
- Fix: choose the size and bend radius from the actual cable layout, then reroute and test the full travel.
"Everything works fine without a drag chain"
- Uncontrolled cable motion can eventually produce difficult-to-find faults.
- Drag chains cost $15-40. Install one now.
"I'm running motor power and signal cables in the same chain"
- Parallel runs of motor and sensitive signal cables can increase interference; assess the cable construction, routing and shield termination.
- Separate motor output and sensitive signals according to the drive manual, avoid long parallel runs and cross at right angles where necessary; do not coil cables inside the carrier.
"I made the drag chain tight so it's stable"
- This pinches cables and creates kinks at the entry point.
- Use the designed carrier geometry and end restraints; keep the cables untensioned through the bend without leaving uncontrolled excess length.
What We'd Buy
For a three-axis CNC: buy an opening-link carrier with matching end brackets, sized from the moving cables, hoses, bend radius and installation geometry. Add proper end strain relief and abrasion protection where needed.
Budget for the carrier, brackets, strain relief and any replacement flex-rated cable. Inspect the installation periodically; none of these parts is automatically a lifetime component.
Parts for this guide
If you are buying after reading this, these are the specs to look for.
| Part | What to buy | Where to look |
|---|---|---|
| Opening-link cable carrier The reader needs a carrier that clears the actual cables and follows the full axis movement. | Select inner dimensions from the laid-out cable set plus the maker's clearance; fixed bend radius must meet every cable's dynamic limit, length from half travel plus K and any offset, with matching end brackets and load capacity. | |
| Carrier-rated stepper cable The reader needs motor leads that survive repeated axis motion without being undersized electrically. | For a suitable low-current stepper circuit, four-core 0.5mm2 finely stranded continuous-flex cable, shielded where the drive requires it; verify current, voltage, length, outside diameter and dynamic bend radius before purchase. | |
| Carrier-rated spindle cable The reader with a VFD spindle needs a moving power cable that handles both cyclic bending and drive interference. | Four-core cable including protective earth, specified for VFD motor outputs and continuous flexing, with a suitable braid shield, voltage rating, conductor area and bend radius for the motor and drive manual. | |
| End strain-relief clamps The reader needs cable tension transferred to the machine rather than the connectors or bending section. | Carrier-end clamp or tie-wrap plate system matched to the bracket and cable outside diameters, anchoring the jackets without crushing them and respecting the maker's straight-length requirement. |
"Search" buttons open a search for that exact spec, so compare listings against it before buying. Some links earn us a commission at no extra cost to you (disclosure).